Online Marketplace Web-app Development
A multi-role online marketplace built with Django — engineered for modularity and informed by user testing.
- Role: Developer & UX Designer
- Tools: Django, Tailwind, JavaScript, Figma
- Duration: Oct 2024 — Jan 2025
Summary
Built a multi-role marketplace with buyer/seller accounts, product listings, dashboards, search & filters, and real-time chat using Django. Focused on modular architecture (core, dashboard, item, conversation), user-centered workflows, and iterative usability testing to improve discoverability and messaging.
Context & Role
- Context: Bachelor’s final project — full-stack capstone with a focus on production-ready architecture and UX.
- My role: Sole developer & UX lead — designed flows, implemented backend & frontend, and ran usability tests.
Problem
Small marketplaces often fail to make product discovery and buyer–seller communication intuitive, leading to friction and abandoned transactions.
Goals
- Build a scalable marketplace prototype supporting multiple user roles.
- Improve discoverability with effective search/filters and clear product presentation.
- Create a lightweight, reliable messaging flow for buyer–seller interaction.
- Validate usability with peer testing and iterate.
Key features
Multi-role auth: buyer / seller
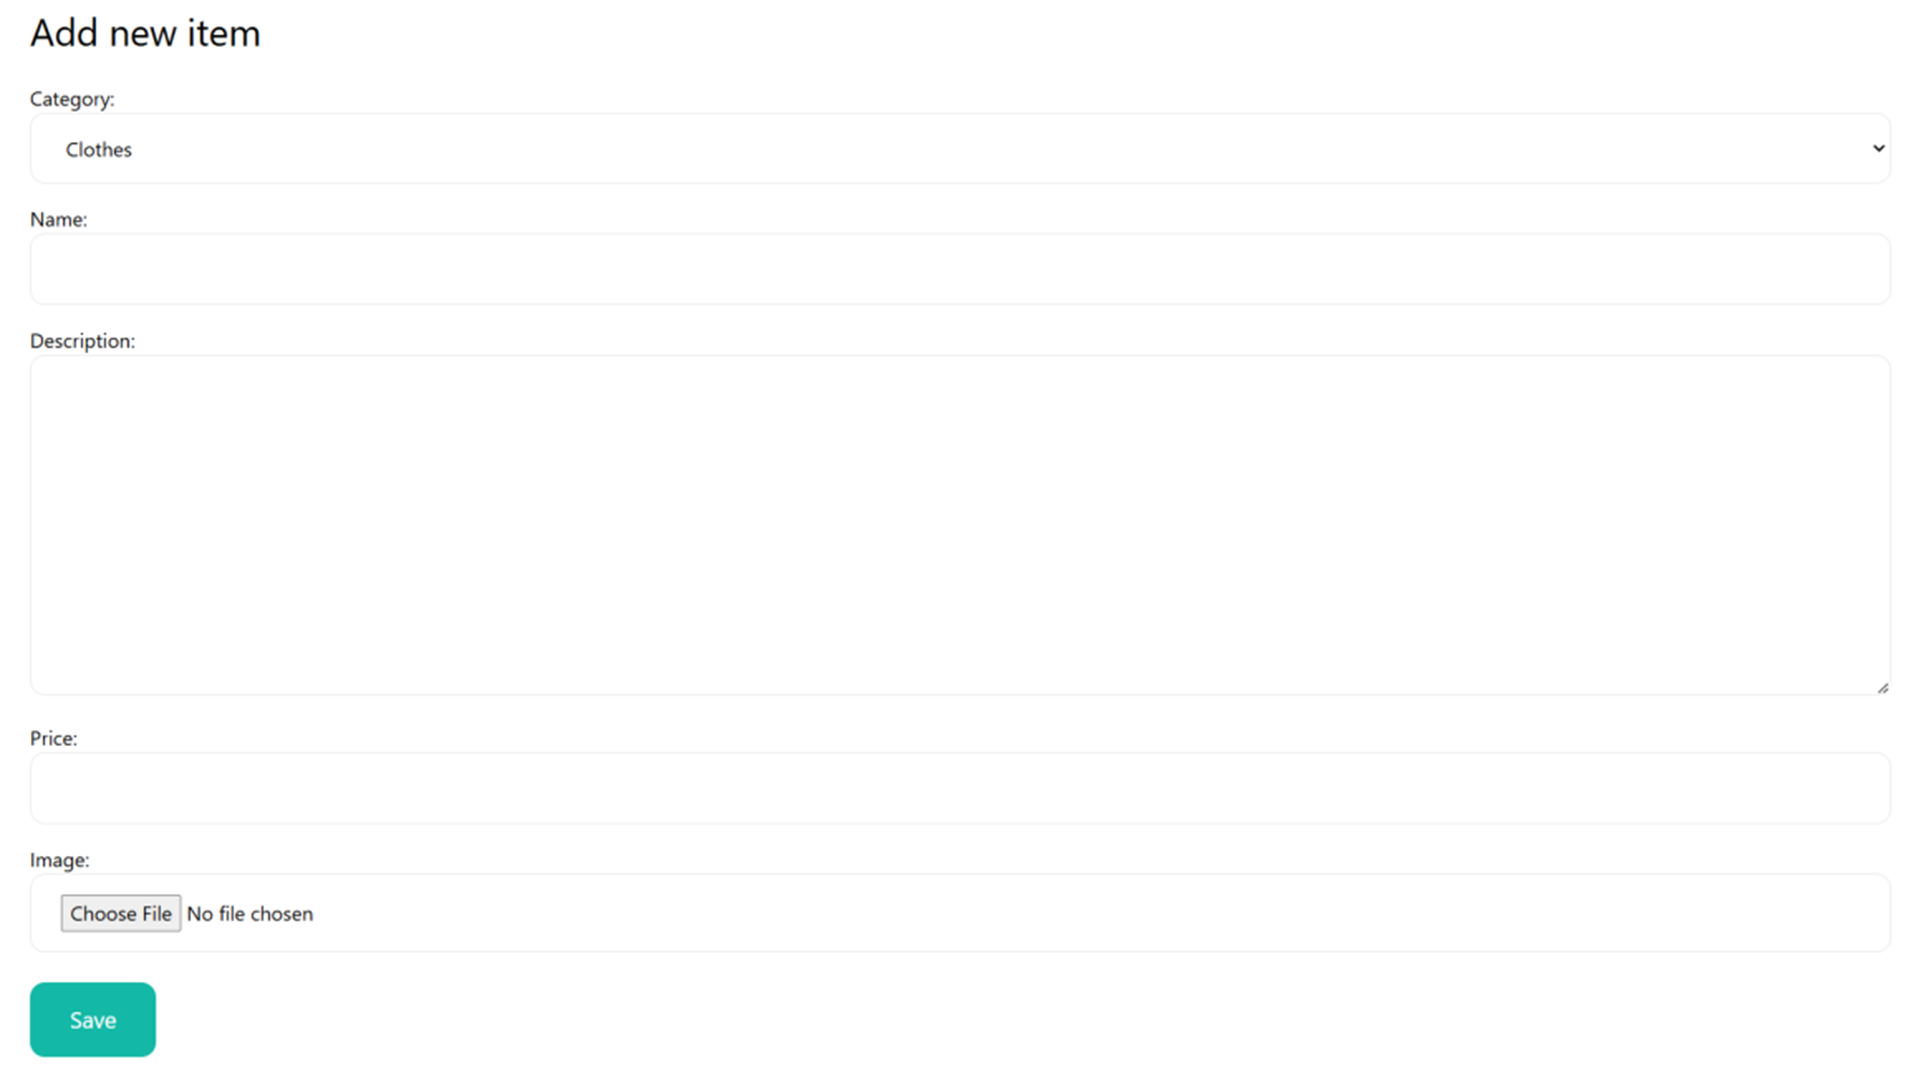
Product CRUD + image gallery
Seller dashboard & analytics basics
Search, faceted filters, sorting
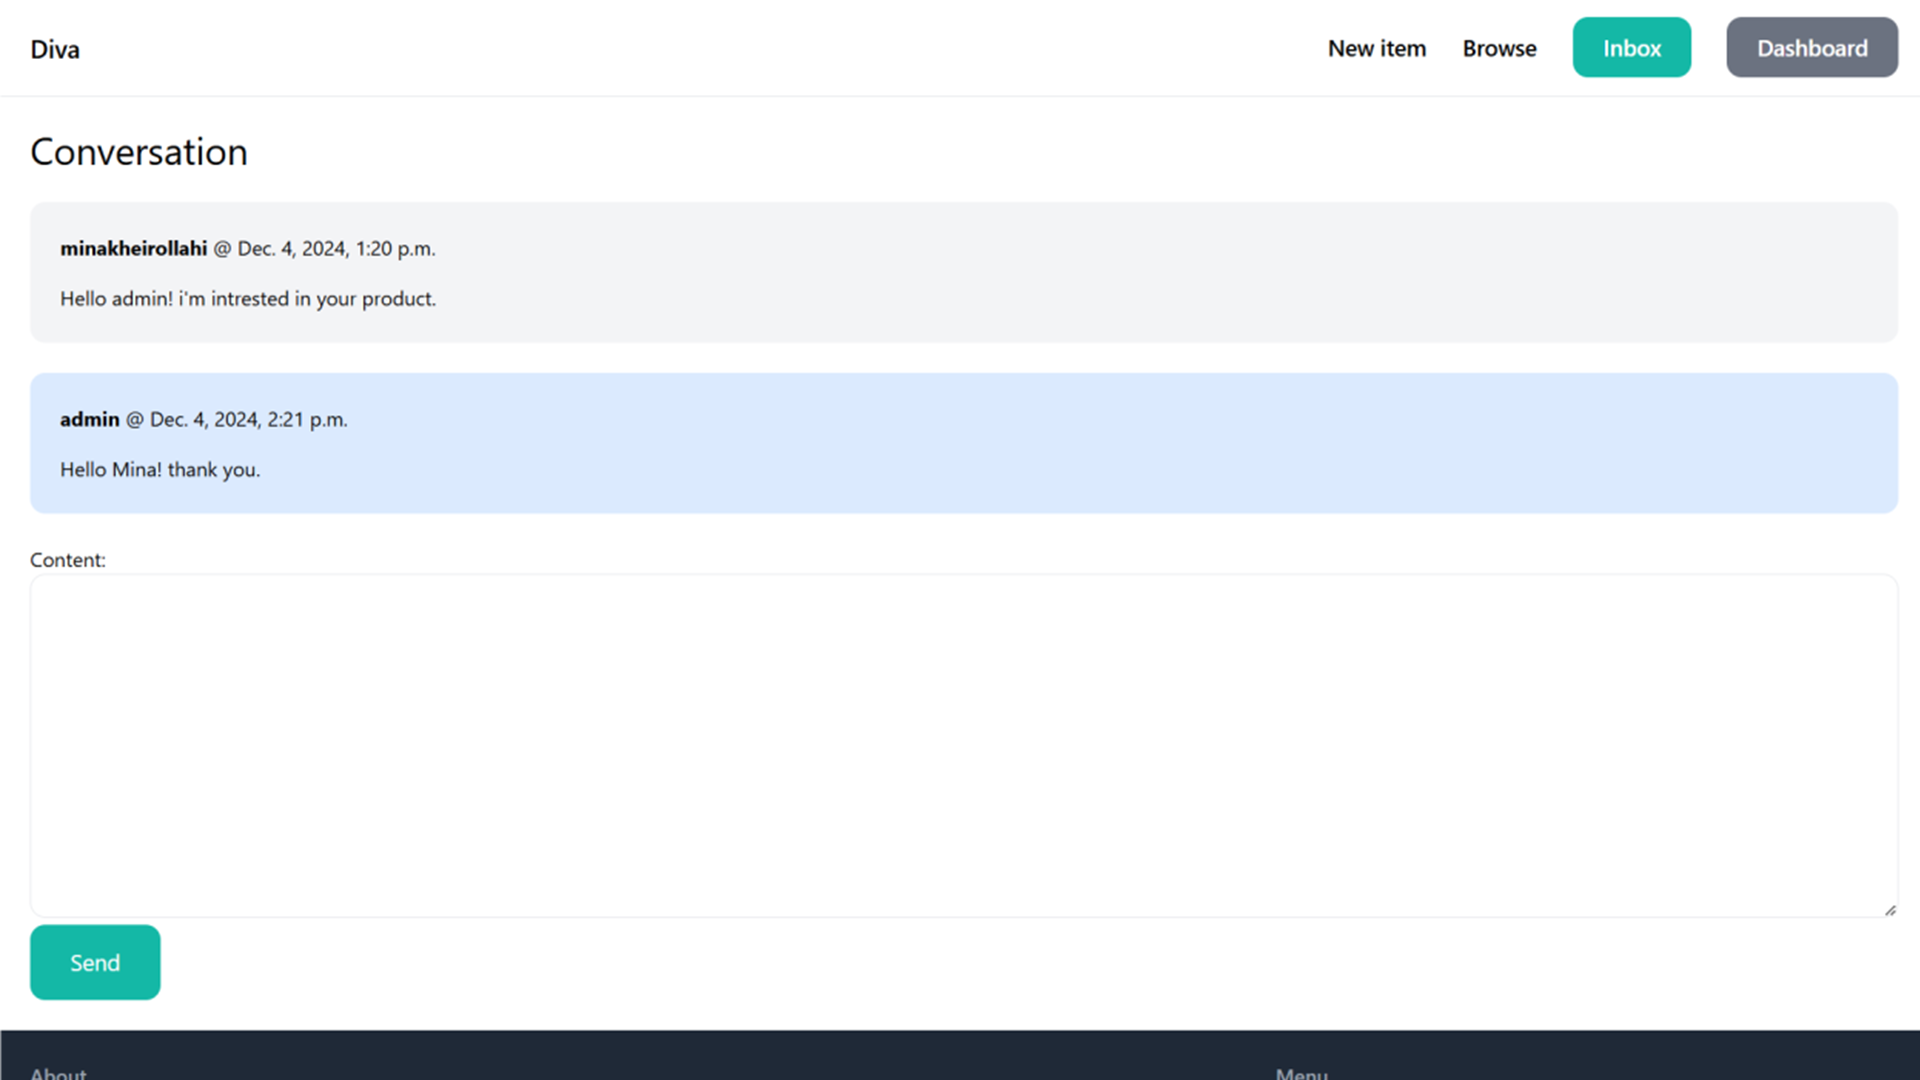
Real-time chat (WebSockets)
Mobile-responsive Tailwind UI
Architecture
Modular Django apps:
core,dashboard,item,conversationPostgreSQL (or SQLite for dev), Redis for channels (if used)
Deployment notes: container-ready, staticfiles via collectstatic
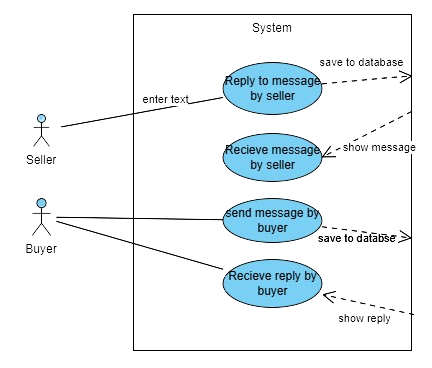
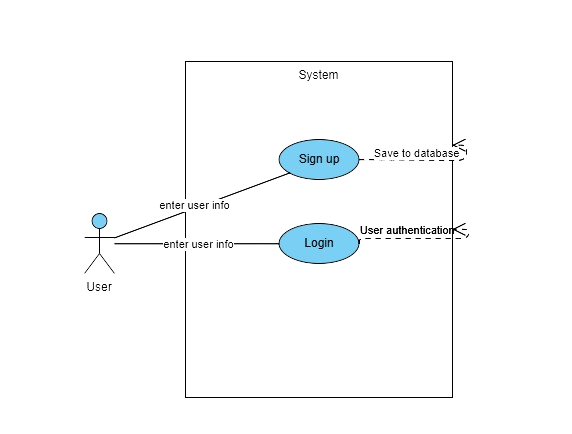
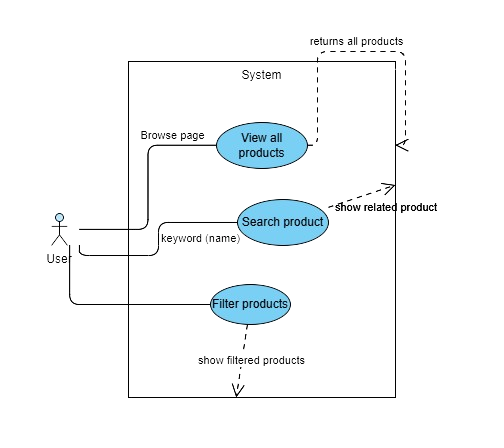
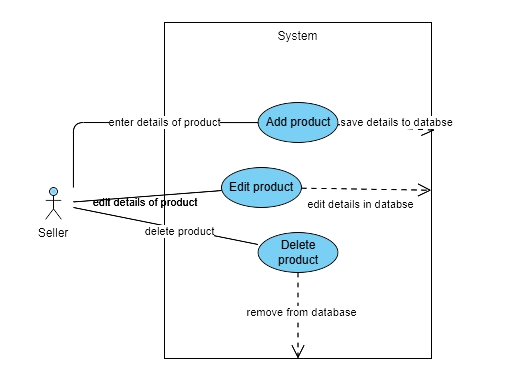
System Use Cases
A high-level overview of how different user roles interact with the marketplace. This diagram maps the core actions of buyers and sellers, helping define system boundaries and guide feature development.
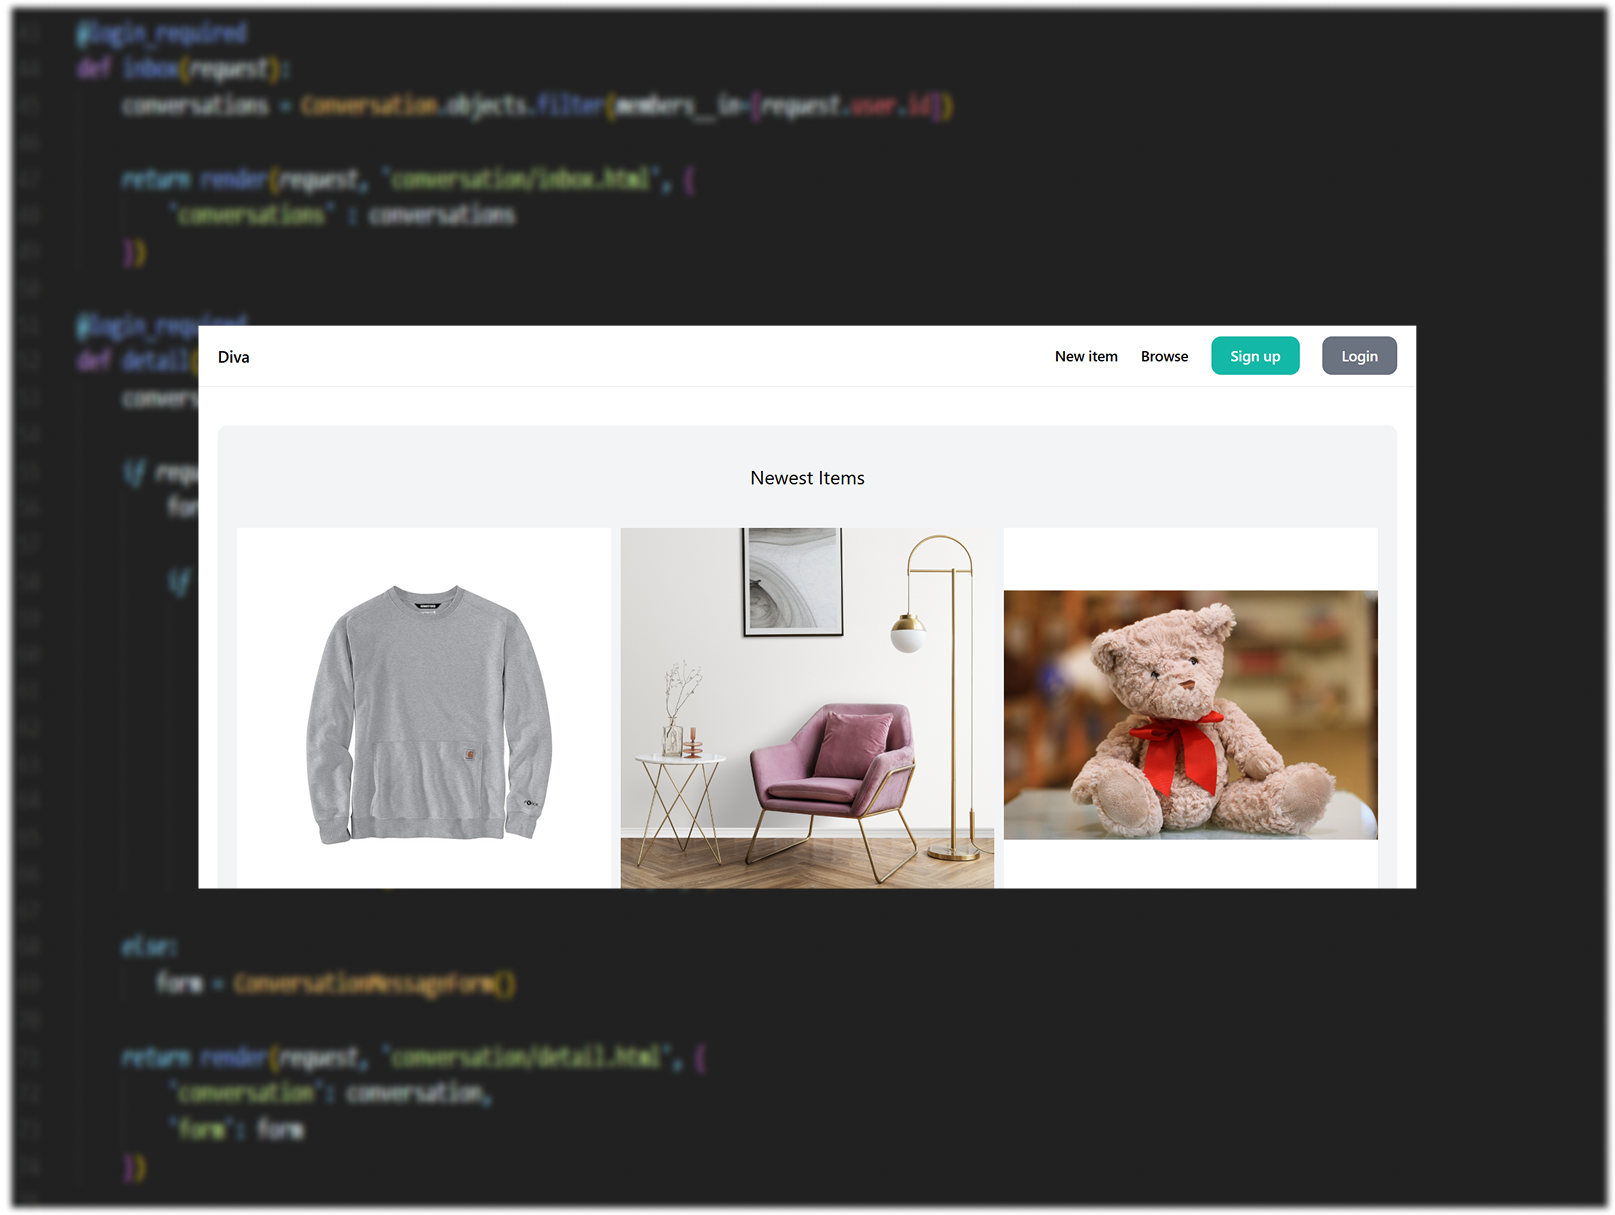
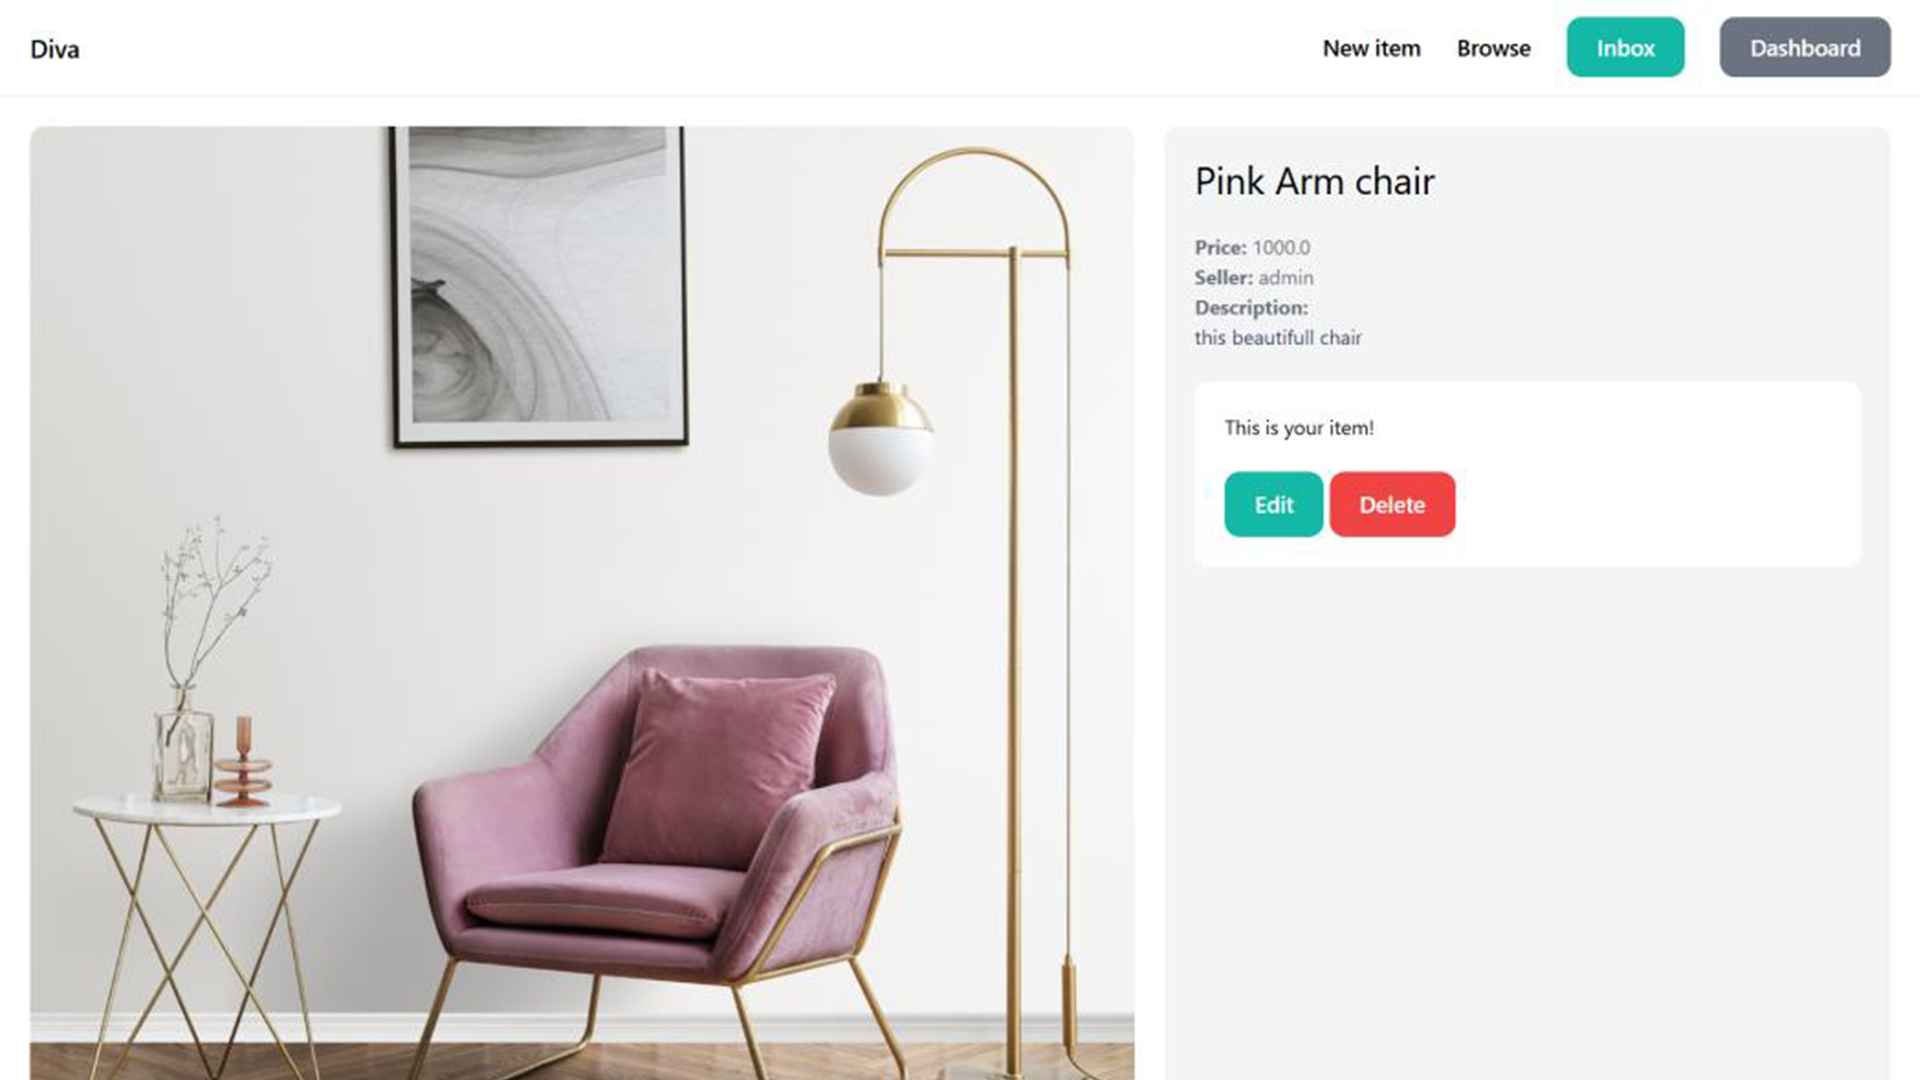
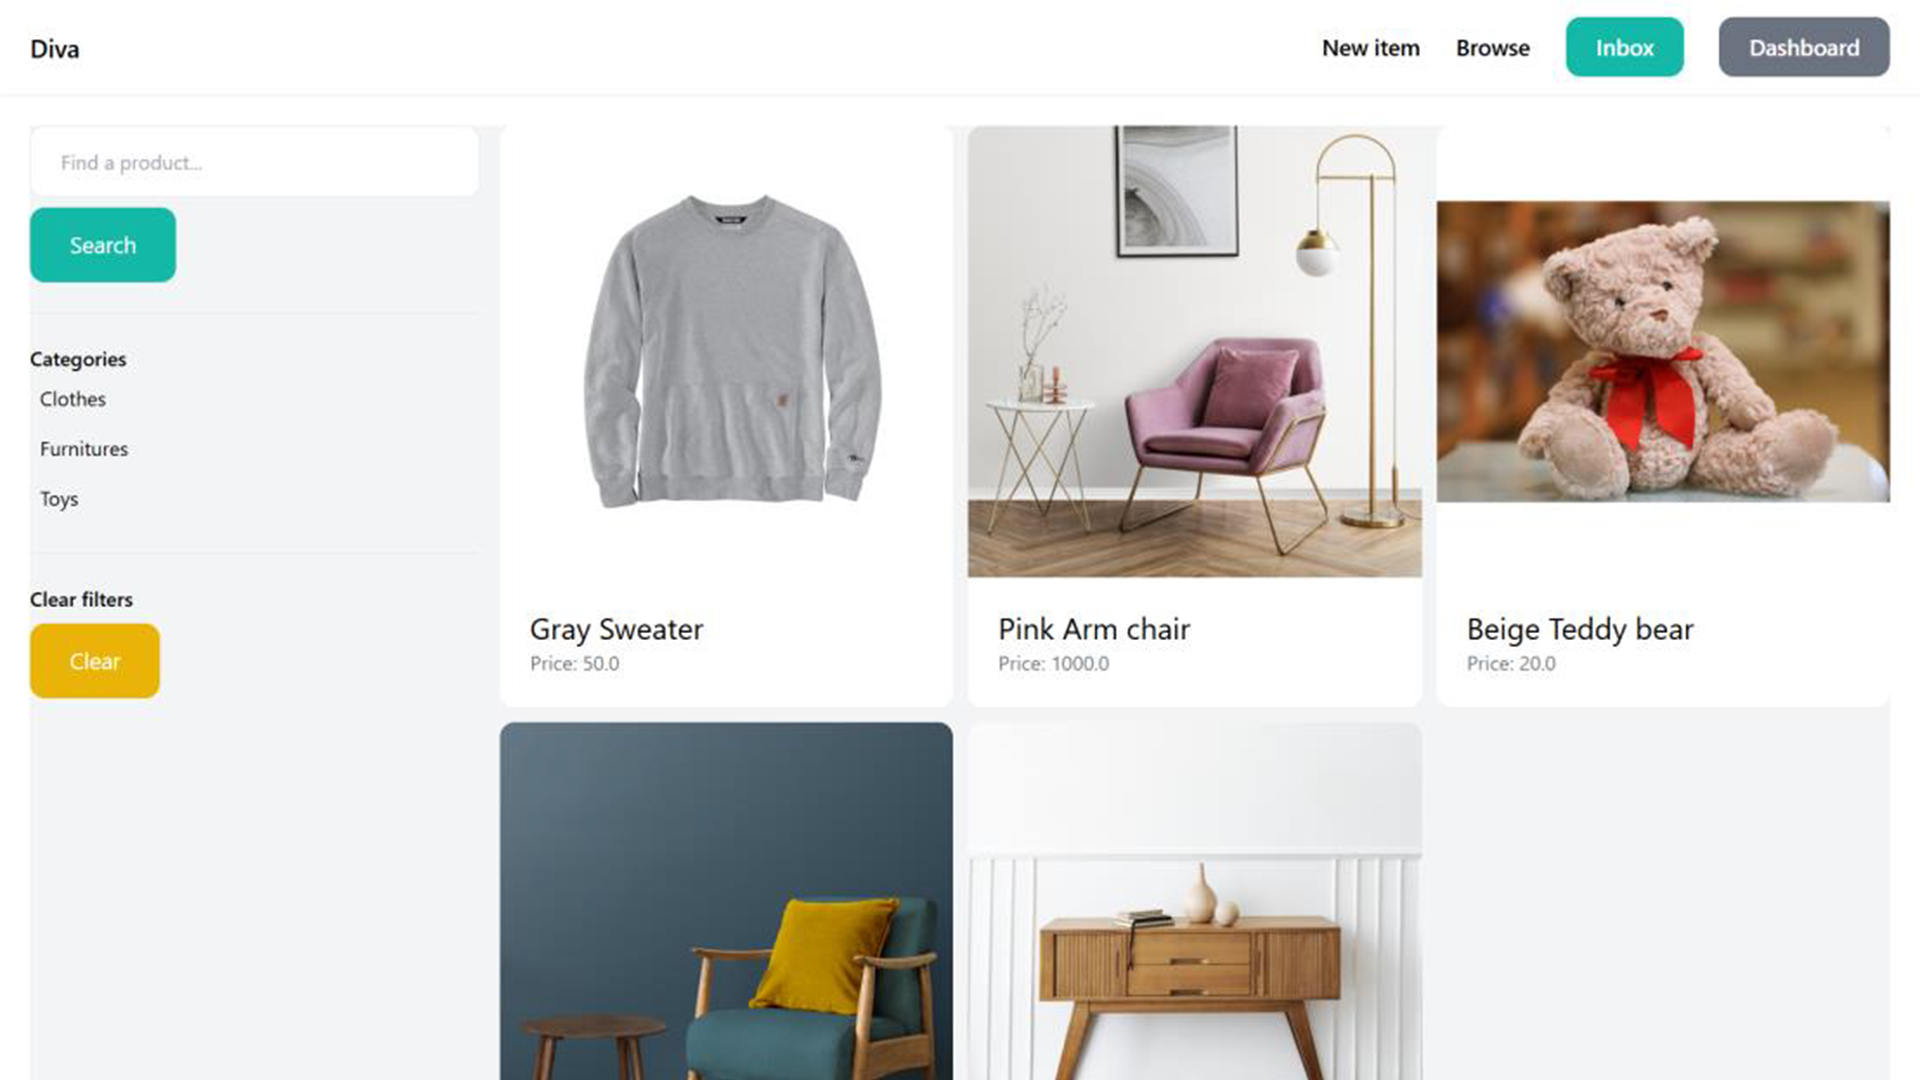
Screenshots & walkthrough
Process: Defined key user journeys → built low-fidelity wireframes → iterated high-fidelity UI → ran peer usability tests and refined flows.
- Design priorities: reduce cognitive load in search, clarify messaging states, and make task completion fast (add/edit/list/sell)
Code & demo
How to run locally:
Step 1 — Open the Project
Open the project files in VS Code.
Step 2 — Activate the Virtual Environment
- Open a new terminal in VS Code.
- Navigate to the project directory.
Activate the virtual environment with:
env/Scripts/activate
Note:
If Django is not installed on your system, run:
pip install django
Step 3 — Navigate to the Main App Directory
After activating the virtual environment, go to the main Django app directory (diva):
cd diva
Step 4 — Run the Local Server
Start the development server:
python manage.py runserver
Step 5 — View the Application in the Browser
Once the server is running, open the following address in your browser:
http://127.0.0.1:8000
Important Notes
If you encounter errors while running the project, ensure all required dependencies are installed.
To create an admin user, run:
python manage.py createsuperuser
- To access the Django admin panel, visit:
http://127.0.0.1:8000/admin
Project structure (concise code map)
					/marketplace/
  core/           # base views, home, auth
  dashboard/      # seller dashboards & product management
  item/           # product models, views, filters
  conversation/   # chat (channels)
  static/         # Tailwind CSS & JS
- Reflection: Building both backend and UX taught me the value of coupling system architecture with user workflows — modular apps made iteration fast. I learned practical trade-offs between realtime features and performance.
- Next steps: Add analytics dashboard, improve accessibility (ARIA), and conduct a larger usability study (10–12 participants) with task metrics.